
In this Journal, Bryn takes the pen and shares her experience wallpapering her new powder room.
THI has had a lot of “moves” this year! I moved, Hannah moved, the THI studio is moving in November of this year. As with most moves, residential or commercial, making changes to the space to accommodate the new occupants is usually on the list of to dos.
As newly minted empty nesters, my husband and I have embarked upon making our new home ours for US, while still having space for our college daughters to come home to. We have changed the floors, painted the walls, shifted the furniture we use and mainly made it a place we love to come home to that is uniquely ours full of the memories and artifacts from our lives together.
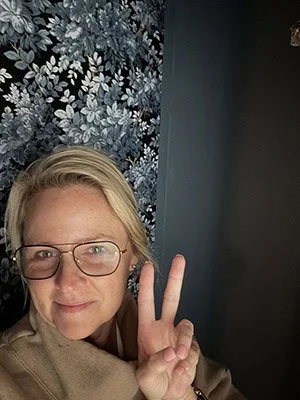
Here’s to making our new home a place for us in this new empty nester season.
Our new house has a long-coveted powder room on the main floor. Yay! Although our previous, long-time family home was beloved in many ways, it had one bathroom on the main floor which was the bathroom for our bedroom, as well as guests. (Enter my hope to have a room with wallpaper in the new house.) The powder room proved to be a perfect place to execute the wallpaper dream.
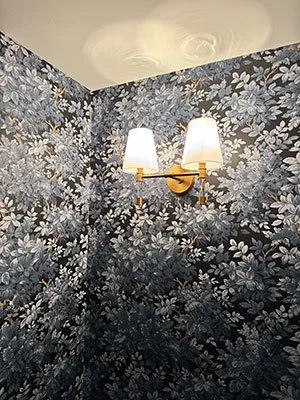
The finished project looks pretty good if I don’t say so myself.
Knowing enough to be dangerous in the construction biz as an interior designer is a common tale. Paint my own rooms, absolutely! Change ceiling fixtures, you bet! Wallpaper, sure! (It can’t be thaaaaat diffcult, right?). Before I could change my mind I placed an order for some gorgeous, moody, blue flowery wallpaper. It's on.
Reckoning day is here. Many DIY/YouTube videos (and weekends of procrastination) later, “Wallpaper Weekend” had arrived. Time to rip the Band-Aid off and get to work.
During the painting of my house prior to move-in, the powder room was stripped down to accommodate new floors, new sink, and a new wall sconce. The walls were primed to the “ground” color of the paper I had ordered.
My research on first-timer-wallpapering told me that paste to the wall, pre-trimmed paper was going to be the easiest. So I readied my tools (measuring tape, pencil, paste, paint roller, paint brush, seam roller, paper smoother/s, scissors, and a very sharp X-Acto knife with many replacement blades.)
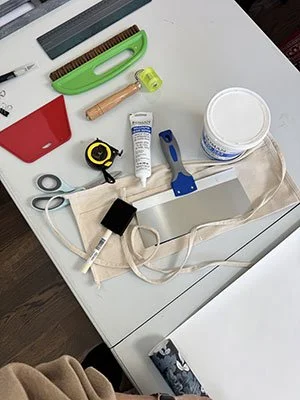
Assembling and organizing the materials is a must.
I began with plumb lines spaced exactly to the width of my roll. I cut my first length, pasting the top section of the wall in order to give myself enough time to line things up before the paste got dry. Three lengths in, smooooooth sailing. I’ve got this.
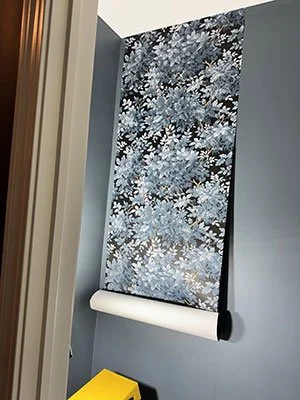
Here goes nothing!
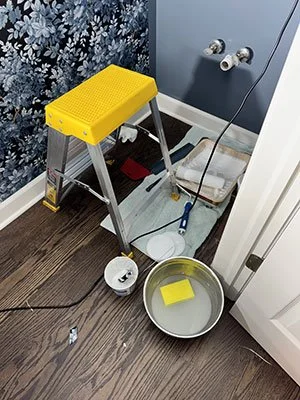
So far, so good.
Next up: corners. First mistake loading. I proceed to wrap the next length around an internal corner. Fast forward many swear words and way too much time, I have sort of wrapped the corner. This is a small room, mind you. The next corner came fast. Thankfully, I paused here for more DIY videos. It is these videos that I learn “never, EVER, wrap an internal corner.” Ooops. Corner number two is done by-the-book and is much better.
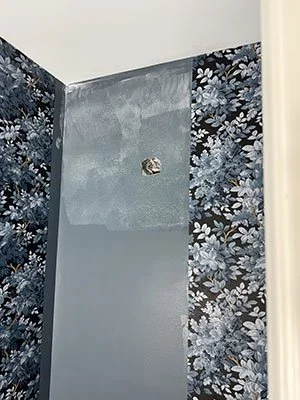
Word to the wise: Never wrap an internal corner.
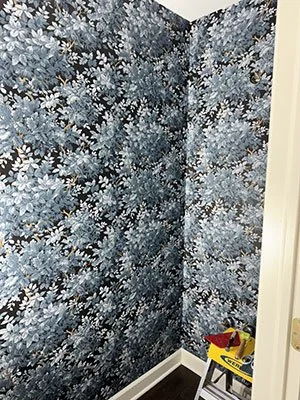
All right, we got through it.
Five hours in (11:30 p.m.) I am now tired and needing a break. The last third of the room will need to wait until tomorrow. On Day 2, I wake up weary, and questioning my life choices, but also ready to finish this thing. If I thought corners were difficult, cased openings are worse. (Don’t even get me started on the plumbing valves. Those just end up looking like a mess of spaghetti you hope and pray are covered up by toilets and sinks.) Nine hours in, I have papered the room.
Newbie postmortem
Here are a few take-aways from my first wallpaper experience:
Watching videos is a must. It was helpful to see different people approach the task the same way.
Amazon for wallpaper tool bundles. The two bundles I ordered are linked here and here. All tools proved to be useful in the process. *I would add getting a proper tool belt to hold said tools while on a ladder you don’t want to get down from every time you need a new tool.
Good lighting is your friend. I purchased this work lamp and I am thankful I did.
Measure twice (or three or four times) and cut once. Whereas I felt like wing-dinging away with the paper and paste, cutting the proper lengths and jut-ins gets rid of the excess bulk and makes the process much less frustrating. I set up a long work table that could accommodate ten feet of paper for cutting.
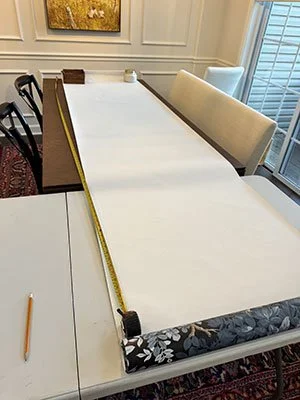
Setting up a proper space to measure and cut was crucial.
Things I’ll do differently next time (and yes, there will be a next time! I’m hooked!)
Definitely get something to kneel on. This process is not kind to the body. I will also wear shoes instead of bare feet since I was standing for a long time.
Take more time if I’m confused or frustrated. The mistakes I made in the process were usually because I went too fast. (Pro tip- if you start to swear a lot = time to take a break.)
All and all, I’m really proud of myself for trying something new that was difficult. Provided that the glue holds and not in a puddle in the ground in the days to follow … I think it looks really nice.
Professional installer appreciation note
While I was able to do my tiny powder room myself, this work is not for the faint of heart. Many of the jobs we hire our installers to execute involve much more delicate or fussy paper and are in precarious places in our client’s homes. (We once specified a “Venetian plaster” look paper for a staircase with three flights and the paper couldn’t come in contact with anything that could scratch it. I must be a sadist designer.)
Hiring professional installers is still the way to go for most people. They take an often pricey product and install it with precision making it look easy to the rest of us. It's not easy. Not at all.
ALL THE FLOWERS must go to the amazing wallpaper installers we work with (you know who you are!) because what you do defies the human condition. In the meantime, I’ll take the flower wallpaper in my powder room that I’ll deem “good-enough” for me.
